
Are you tired of the same old
cookie-cutter lighting fixtures that adorn every home? Do you yearn for a touch
of personalization to brighten up your living space? Well, look no further than
the delightful world of DIY wall lights. Crafting your own wall lights is not
just a creative endeavor; it’s a fantastic way to infuse your personality into
your home decor. In this blog, we’ll take you on a journey through the art of
crafting personalized wall lights, illuminating your path with step-by-step
instructions and invaluable tips. So, roll up your sleeves, because it’s time
to shed light on your inner artisan!
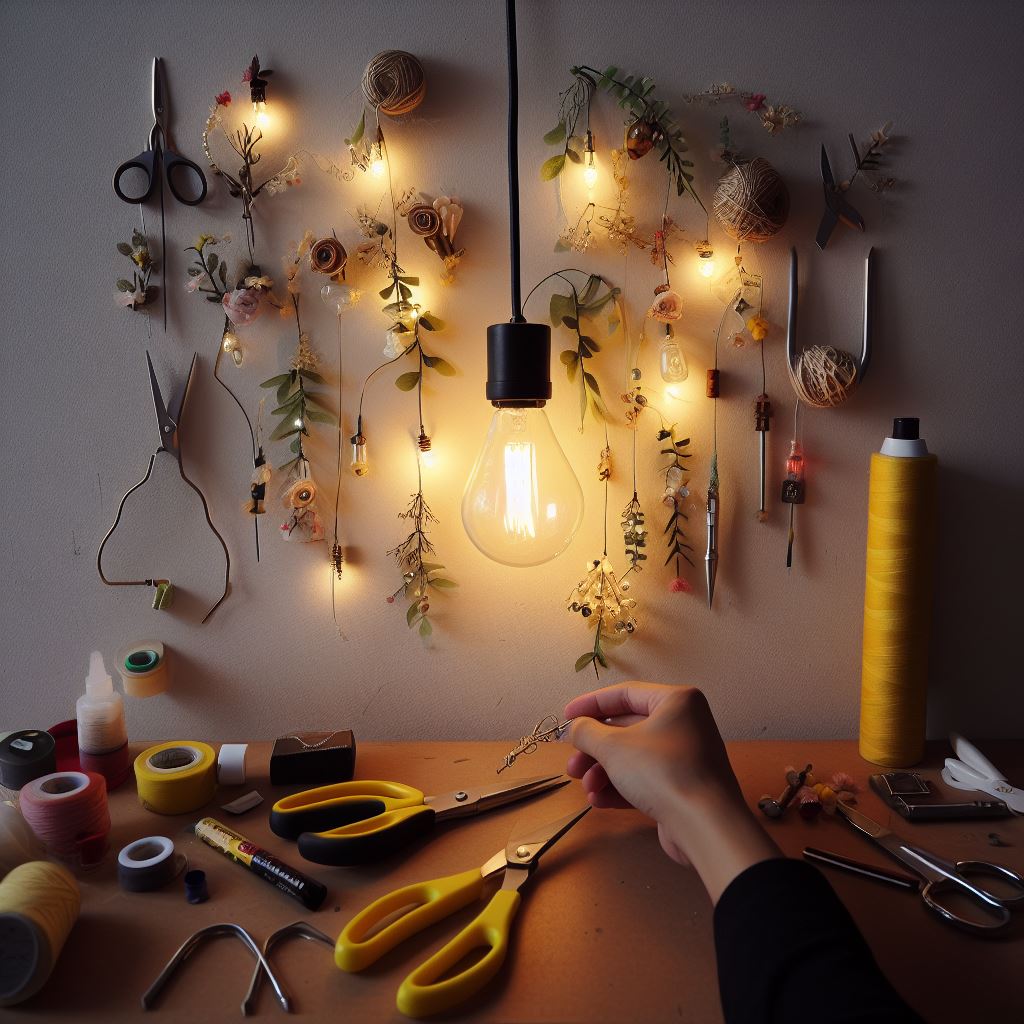
Step 1: Gather Your Materials
Before embarking on your DIY wall
light adventure, you’ll need to gather some essential materials. Here’s a basic
list to get you started:
·
Wooden or metal base for your light fixture
·
Light socket and cord
·
Bulb of your choice (LED bulbs are
energy-efficient)
·
Decorative elements (glass, fabric, or any
material for your shade)
·
Screws and wall anchors
·
Paint, stain, or finish for your base (if
desired)
·
Tools: Screwdriver, drill, wire strippers, and
pliers
Step 2: Design Your Light
Fixture
Now comes the fun part—designing
your wall light. Consider the style and aesthetics you want to achieve. Do you
prefer a rustic, industrial look, or are you aiming for a modern and sleek
design? Sketch out your ideas, and be sure to account for the size and shape of
your shade.
Step 3: Assemble the Base
Start by preparing your wooden or
metal base. If you’re working with wood, you can cut, sand, and finish it to
your desired specifications. Drill holes for the light socket and cord,
ensuring they’re positioned correctly.
Step 4: Wiring the Light
Socket
Using your wire strippers and
pliers, connect the light socket to the cord following the manufacturer’s
instructions. Be sure to turn off the power before handling any electrical
components. Securely attach the light socket to the base.
Step 5: Create Your Shade
Now, it’s time to get creative
with your shade. This is where you can truly personalize your wall light. You
can use a variety of materials, such as colored glass, fabric, or even
repurpose an old lampshade. Cut and shape your chosen material to fit your
design and attach it securely to the base.
Step 6: Painting and Finishing
Touches
If you want to add some color or
texture to your base, this is the stage to do it. Paint, stain, or apply a
finish to your base to achieve the desired look. Allow it to dry completely
before moving on.
Step 7: Mounting Your Wall
Light
Finally, it’s time to mount your
masterpiece on the wall. Use screws and wall anchors to securely attach it. Be
sure to consult a stud finder to locate a sturdy anchor point for your wall
light. Once it’s securely in place, plug it in, and bask in the warm,
personalized glow of your very own creation.
Tips for Success:
·
Safety first! Always follow safety guidelines
when working with electrical components.
·
Choose energy-efficient LED bulbs to save on
energy costs and reduce environmental impact.
·
Experiment with different shades and materials
to match your home decor.
·
Consider installing a dimmer switch for
adjustable lighting.
·
Get creative with your base shape and design to
make it uniquely yours.
With your DIY wall light now
illuminating your space, you can proudly showcase your creativity and add a
personal touch to your home decor. Crafting your own wall lights is not just a
project; it’s a statement of your unique style. So, grab your tools and let
your imagination shine as you embark on this delightful DIY journey. Your
personalized wall lights will undoubtedly brighten not only your living space
but also your spirits.
Happy crafting!
I hope you find this blog helpful
and inspiring! If you have any further questions or need additional
information, please feel free to ask.